Feb
03
I’m pleased to announce that my project Toowoomba RAW has begun.
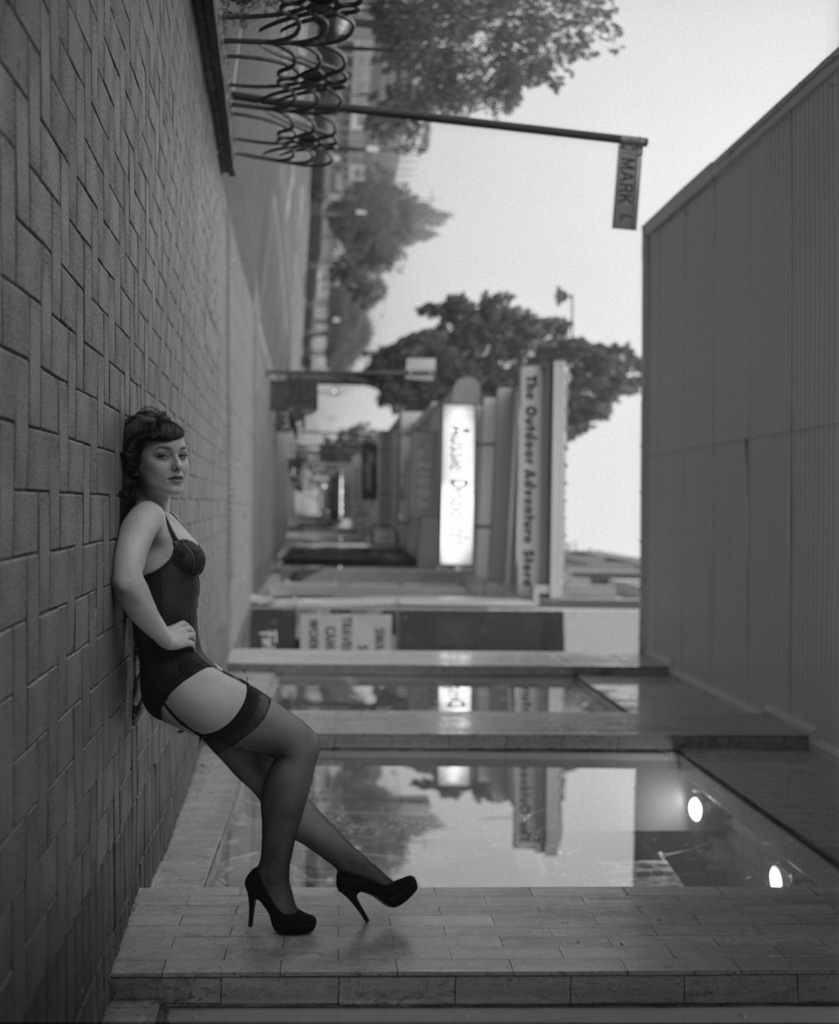
The concept came about after viewing some work from a french photographer capturing images of Paris around the turn of the 20th century, Jean-Eugène-Auguste Atget. I was captivated by a series of images he captured of Paris in the early hours of the morning. Due to the long exposure times, people could walk through the scene however their presence would not be captured on the glass plates. It gave a deserted and eery feel to a city we only ever see busy and crowded.
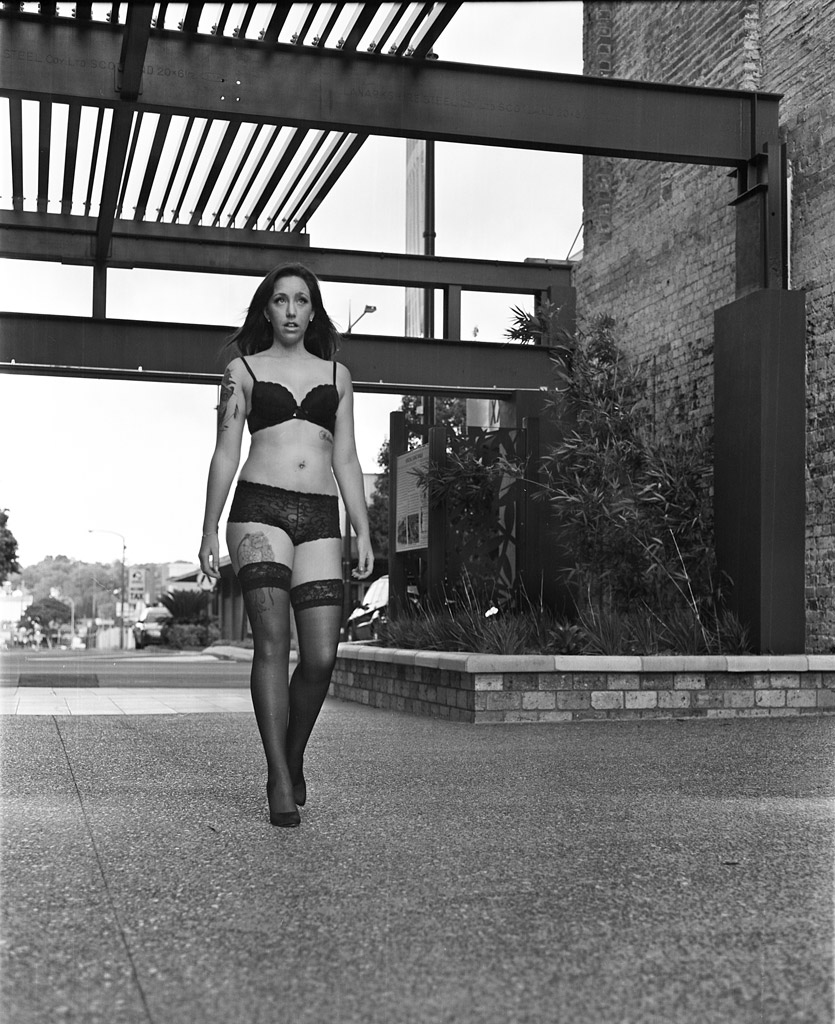
I am shooting this project on a Mamiya RB67 Pro Medium Format film camera. The processing of all black and white film will be done by me in my home darkroom. I have chosen to start with Kodak Tri-X 400 film due to its characteristics and excellent pushing and pulling ability.
The early starts have been fun and the models have really enjoyed the experience. With only two rolls developed so far, I’m constantly looking forward to the next shoot and seeing what images will appear from the developing tank next.
Stay tuned for more images and updated from the Toowoomba Raw project over the next few weeks.
Aug
23
I met Bec a few months back after she heard about me through a previous client. Bec wasn’t to sure if she should go with us for her special day so we met for a coffee to discuss what she requires. I always meet with my clients because I feel it’s important to meet and form a relationship with them.
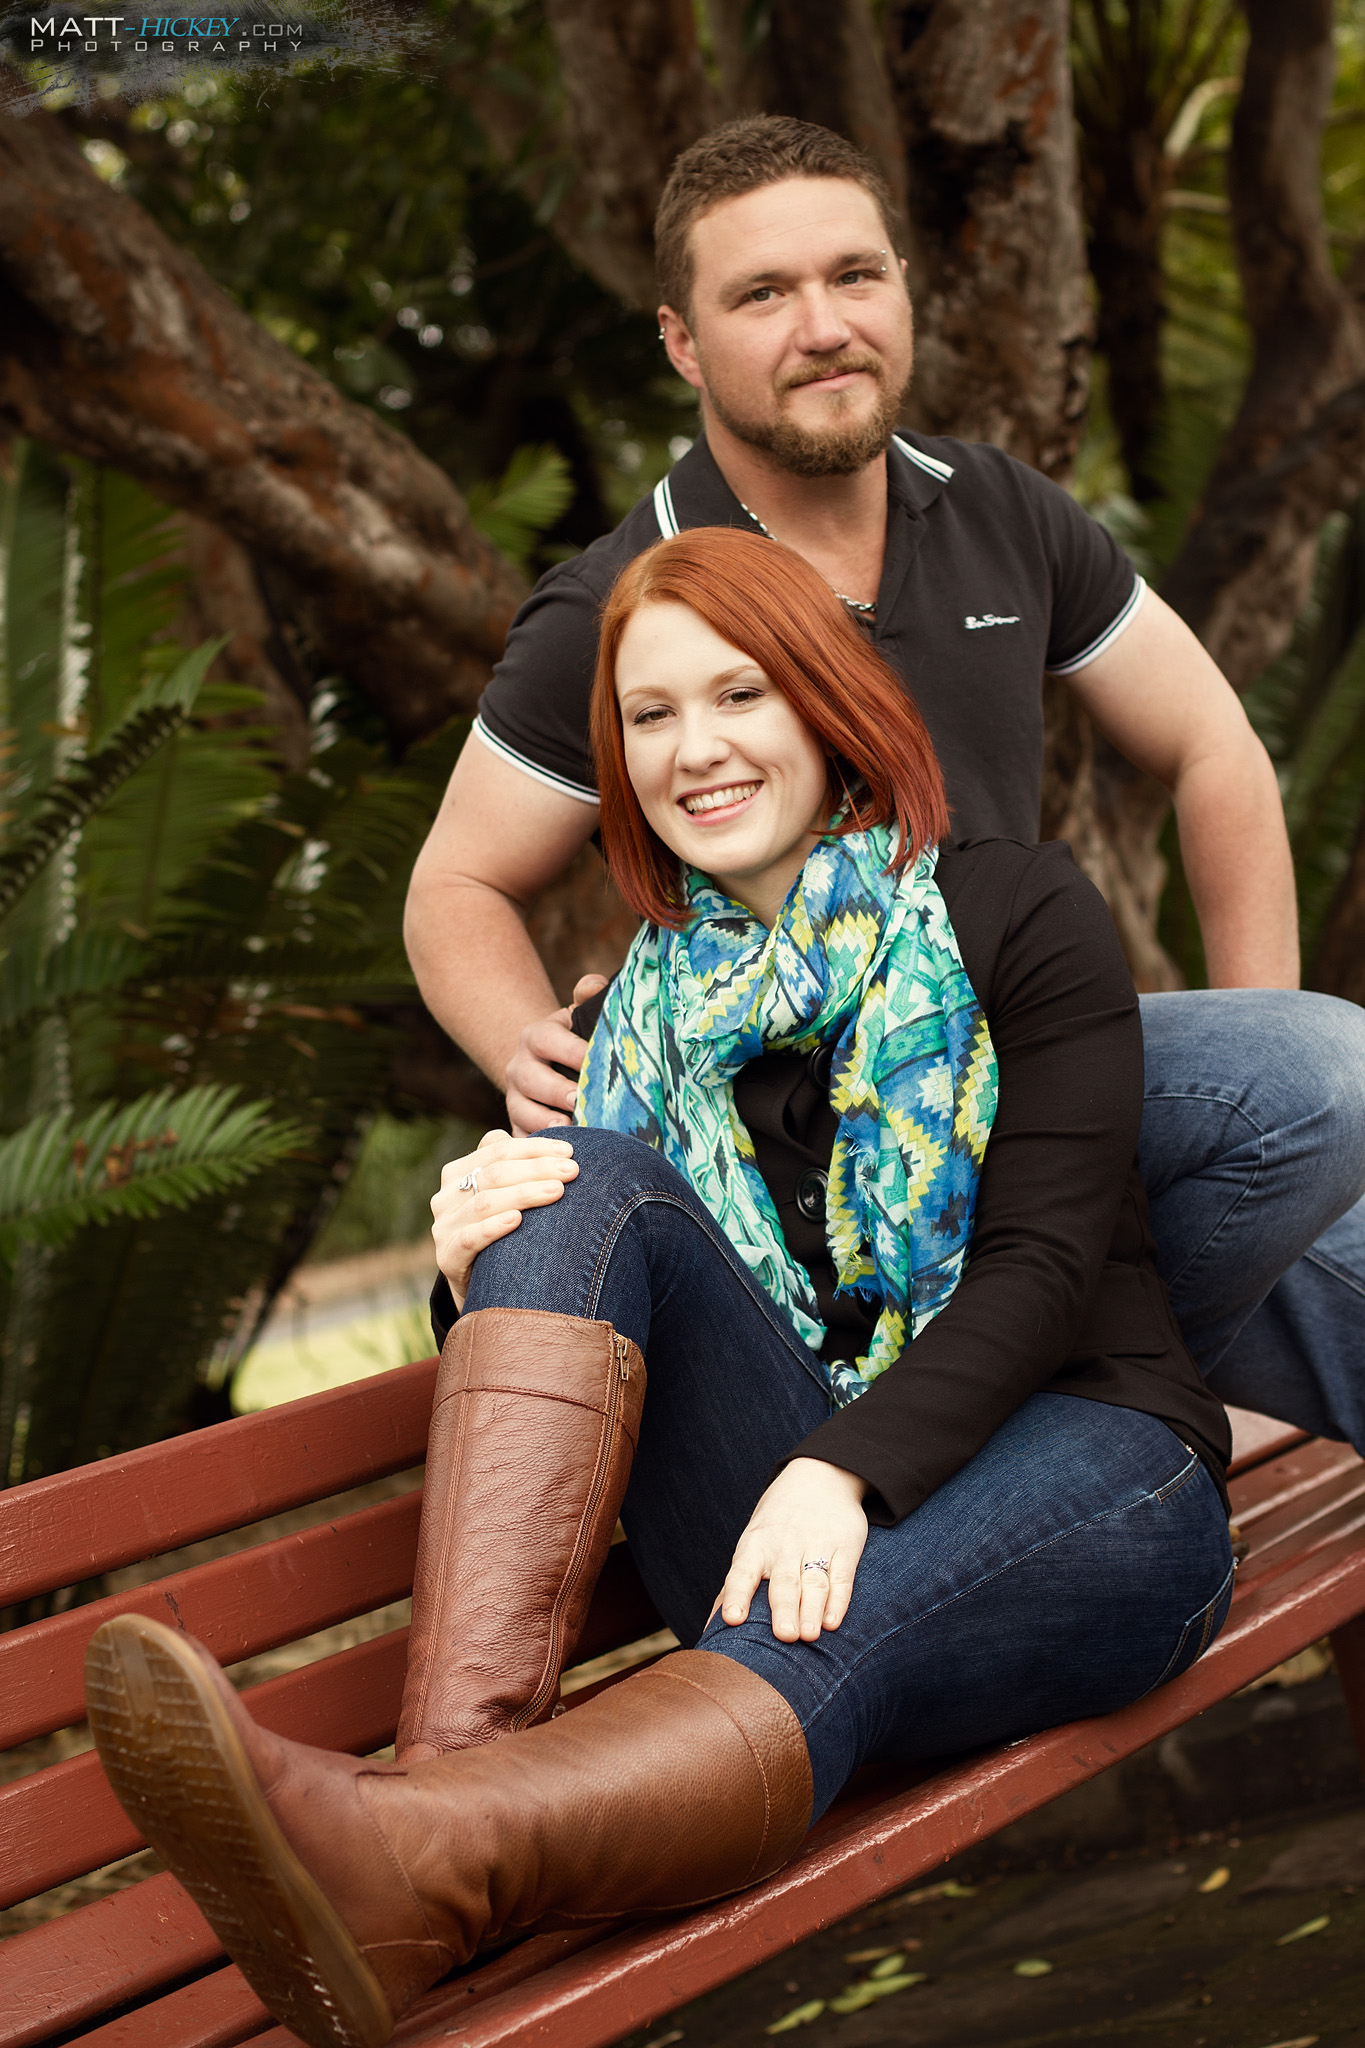
After a few minutes chatting with Bec, I soon realised that Bec and Ricky were planning a wedding just like ours. A low key wedding that included their closest friends and family, with a casual laid back attitude.
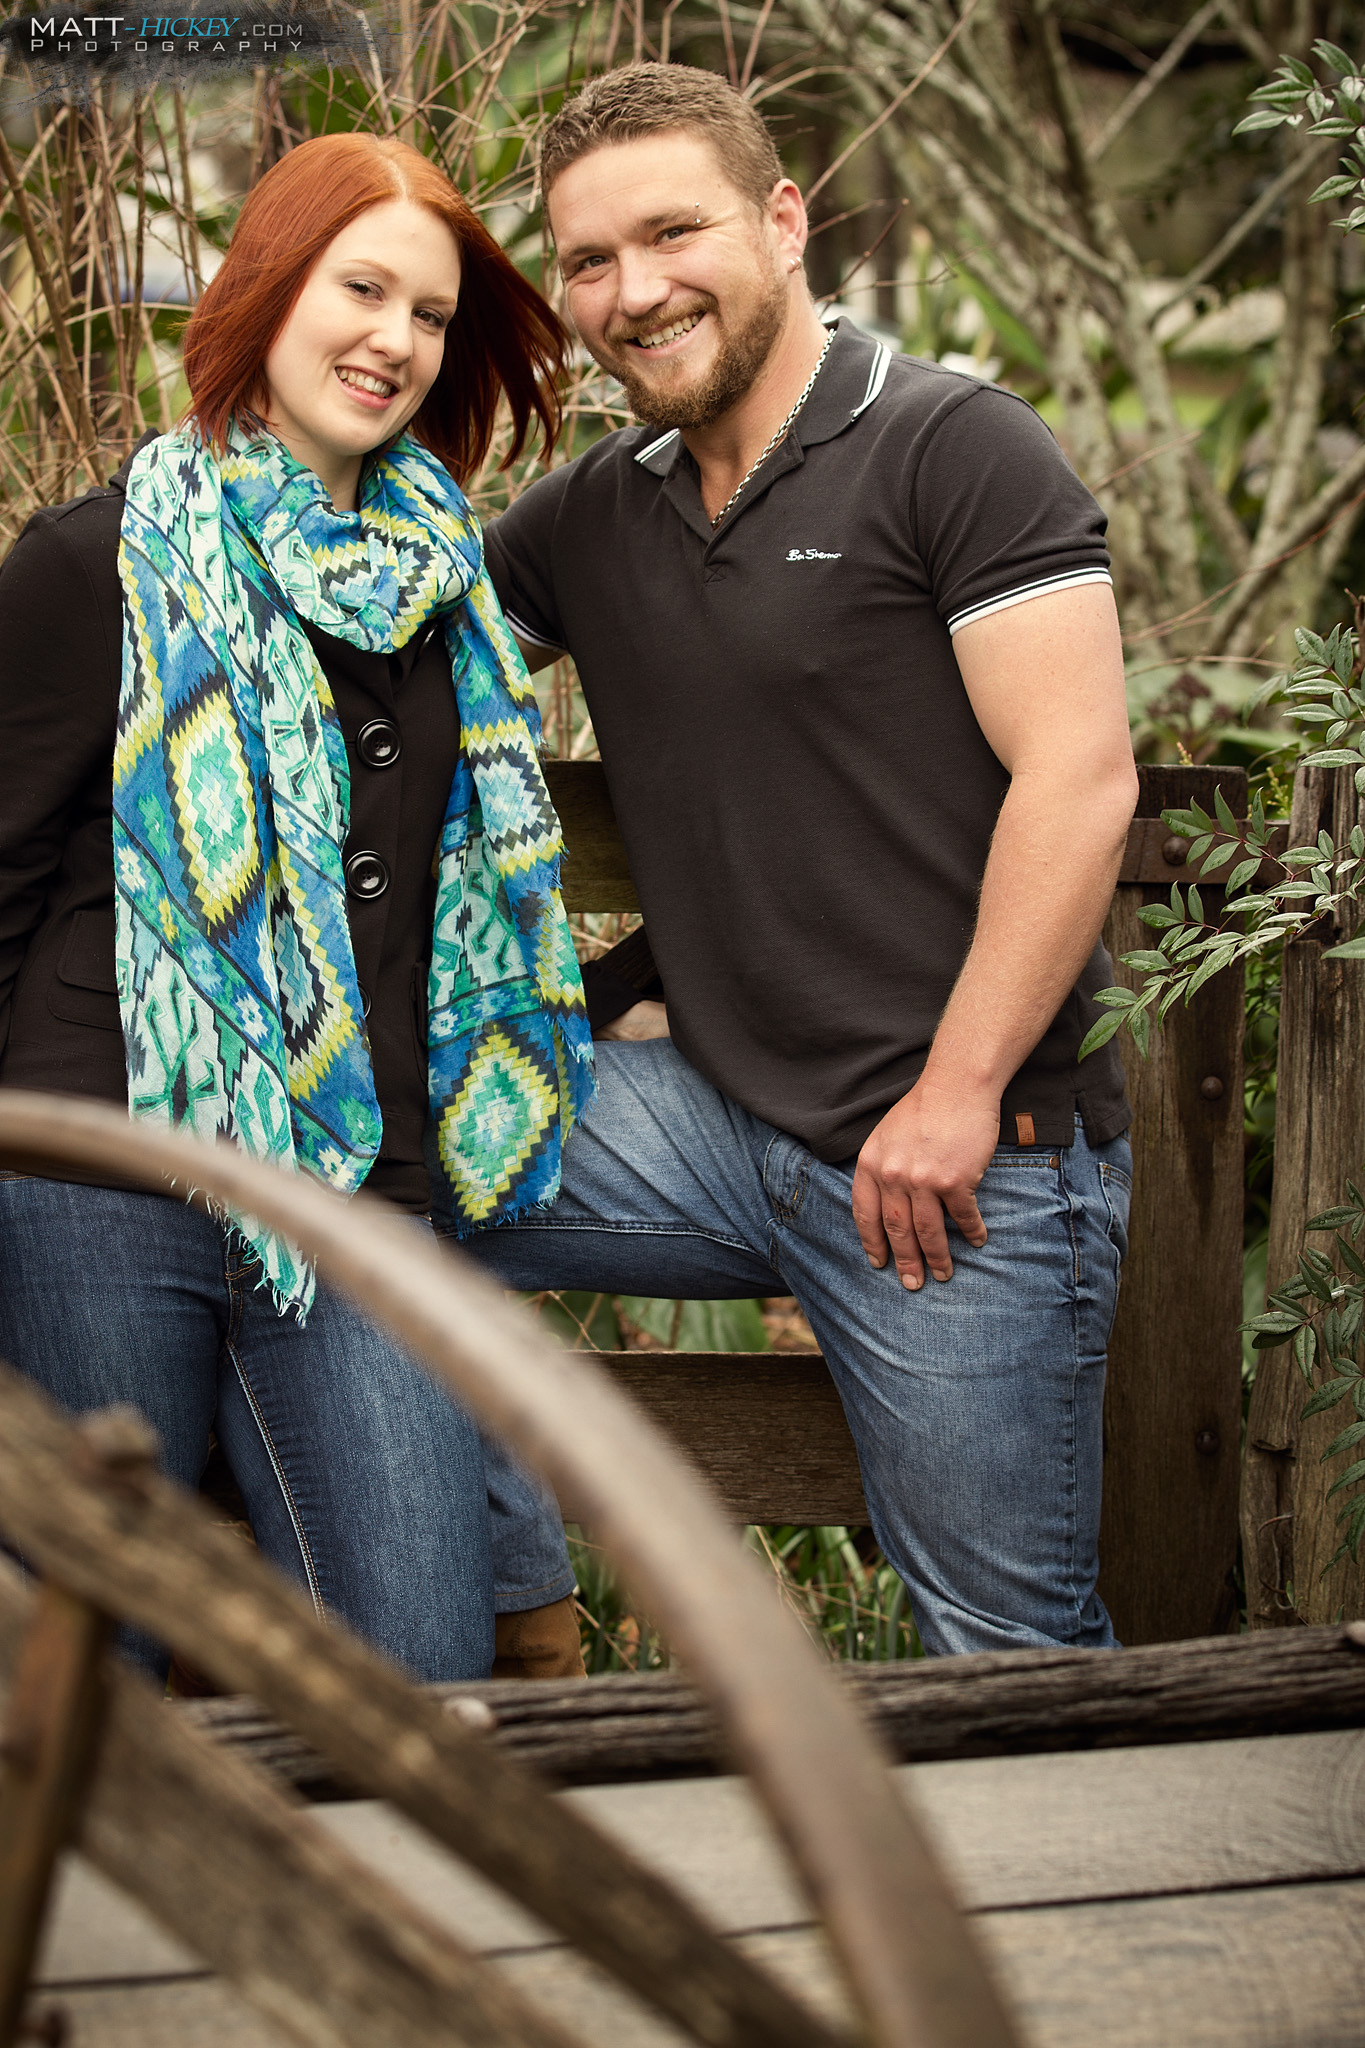
A part of my wedding packages includes an engagement shoot with gives my clients a chance to see me in action. It also gives me a chance to see how my clients act in front of my camera. Working with professional models makes things easy, but in reality, the majority of my clients are not models and don’t know how to “perform” in front of the lens.
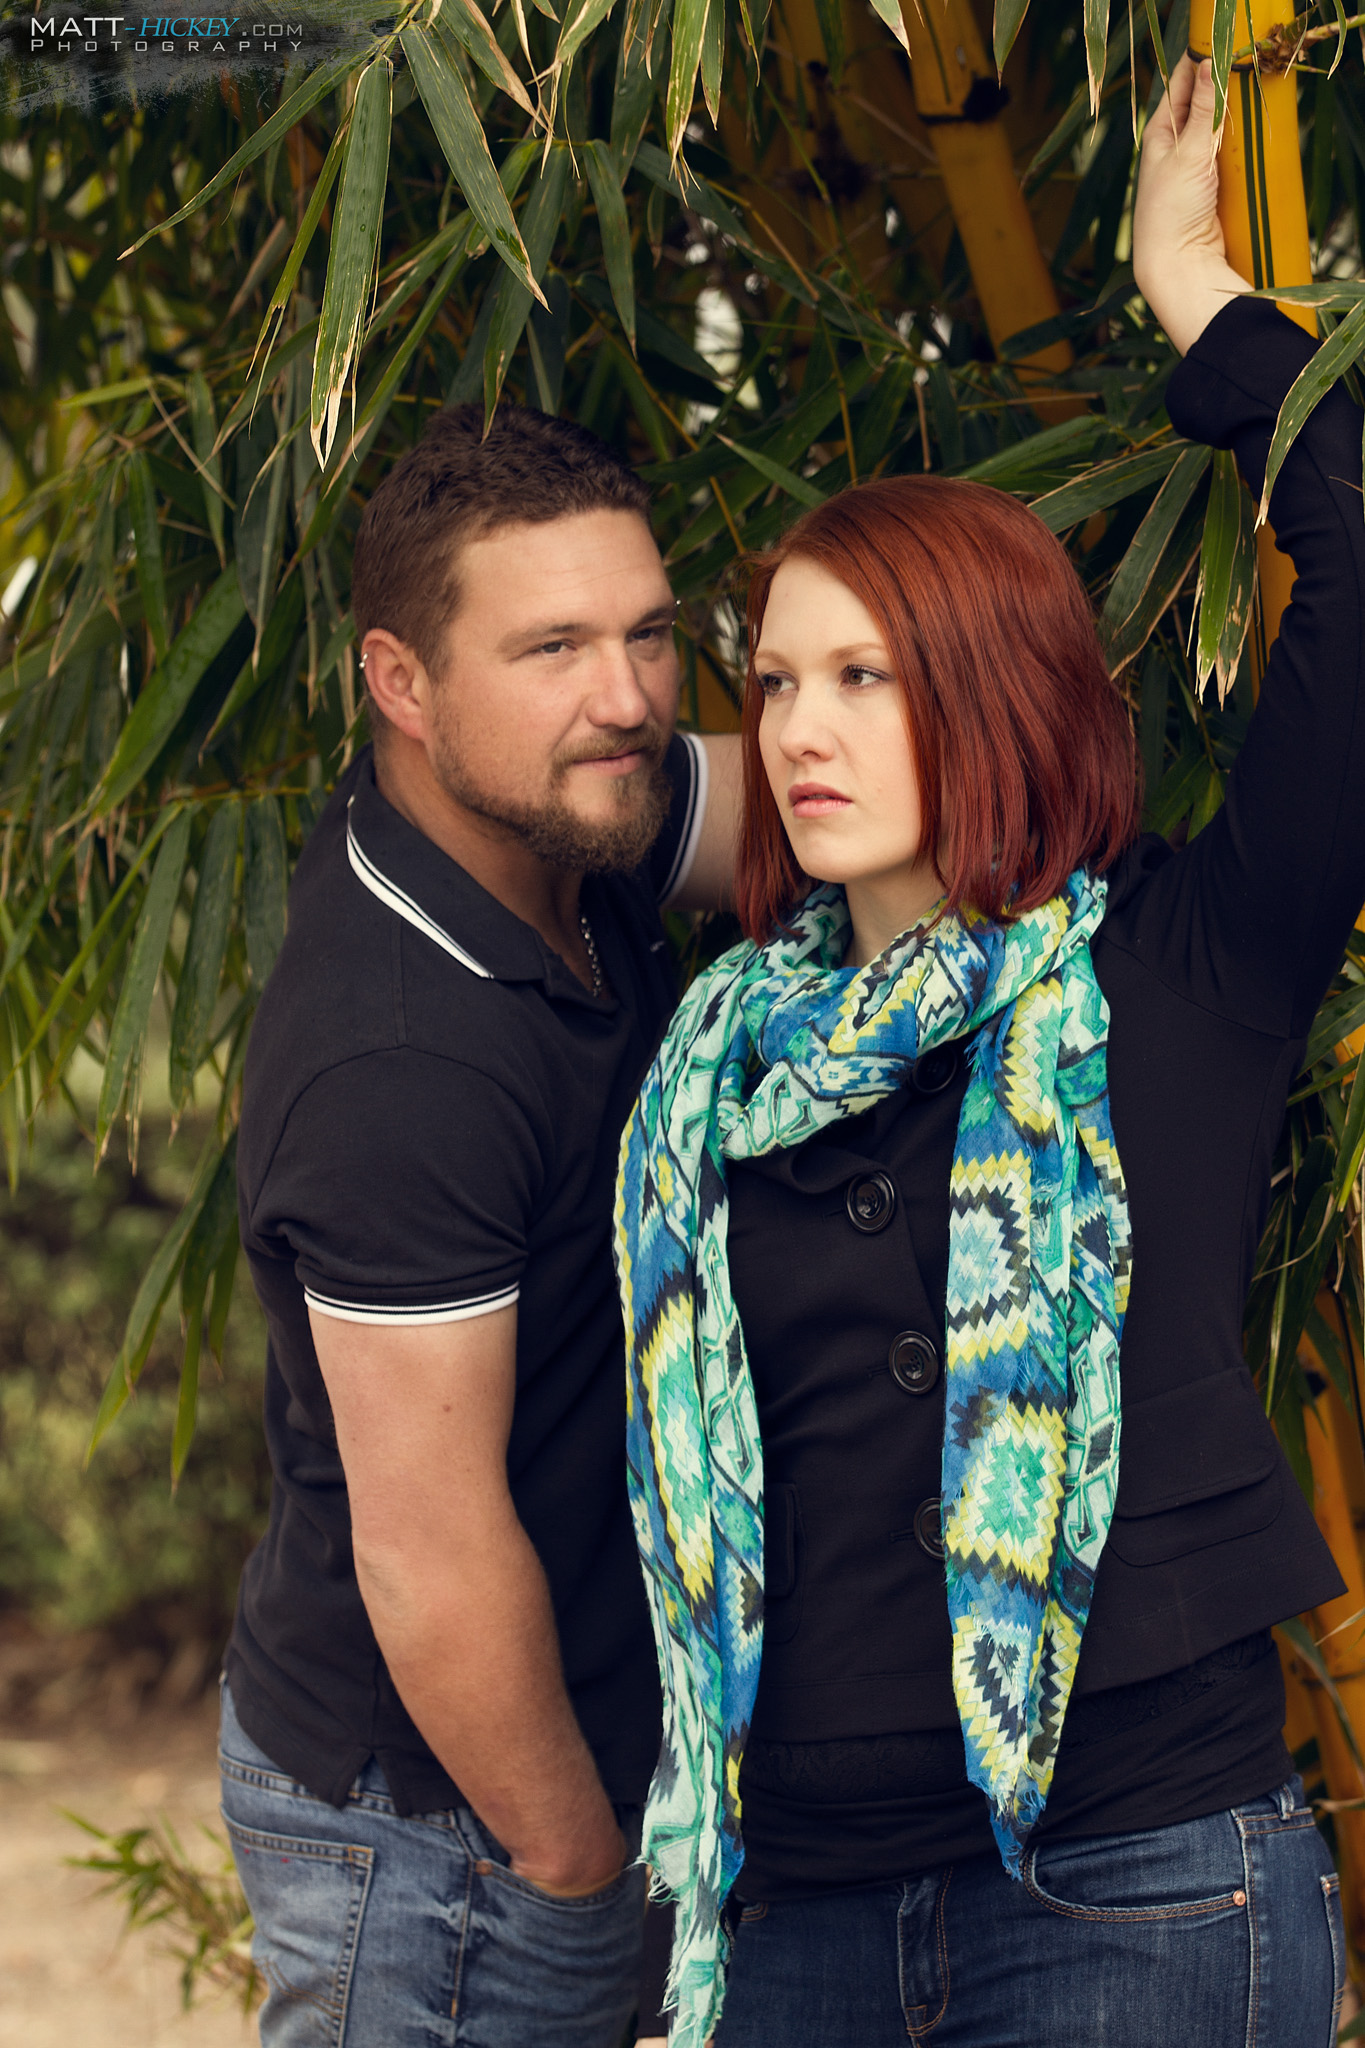
Bec gave me plenty of warning about the fact that she doesn’t feel comfortable in front of the camera and she was afraid Ricky didn’t want much to do with the photography side of things. I had the pleasure of meeting Ricky on the weekend, and I must say, what a fun and easy going couple. Ricky is the real life Derek Zoolander. He can pull off a true Blue Steel!
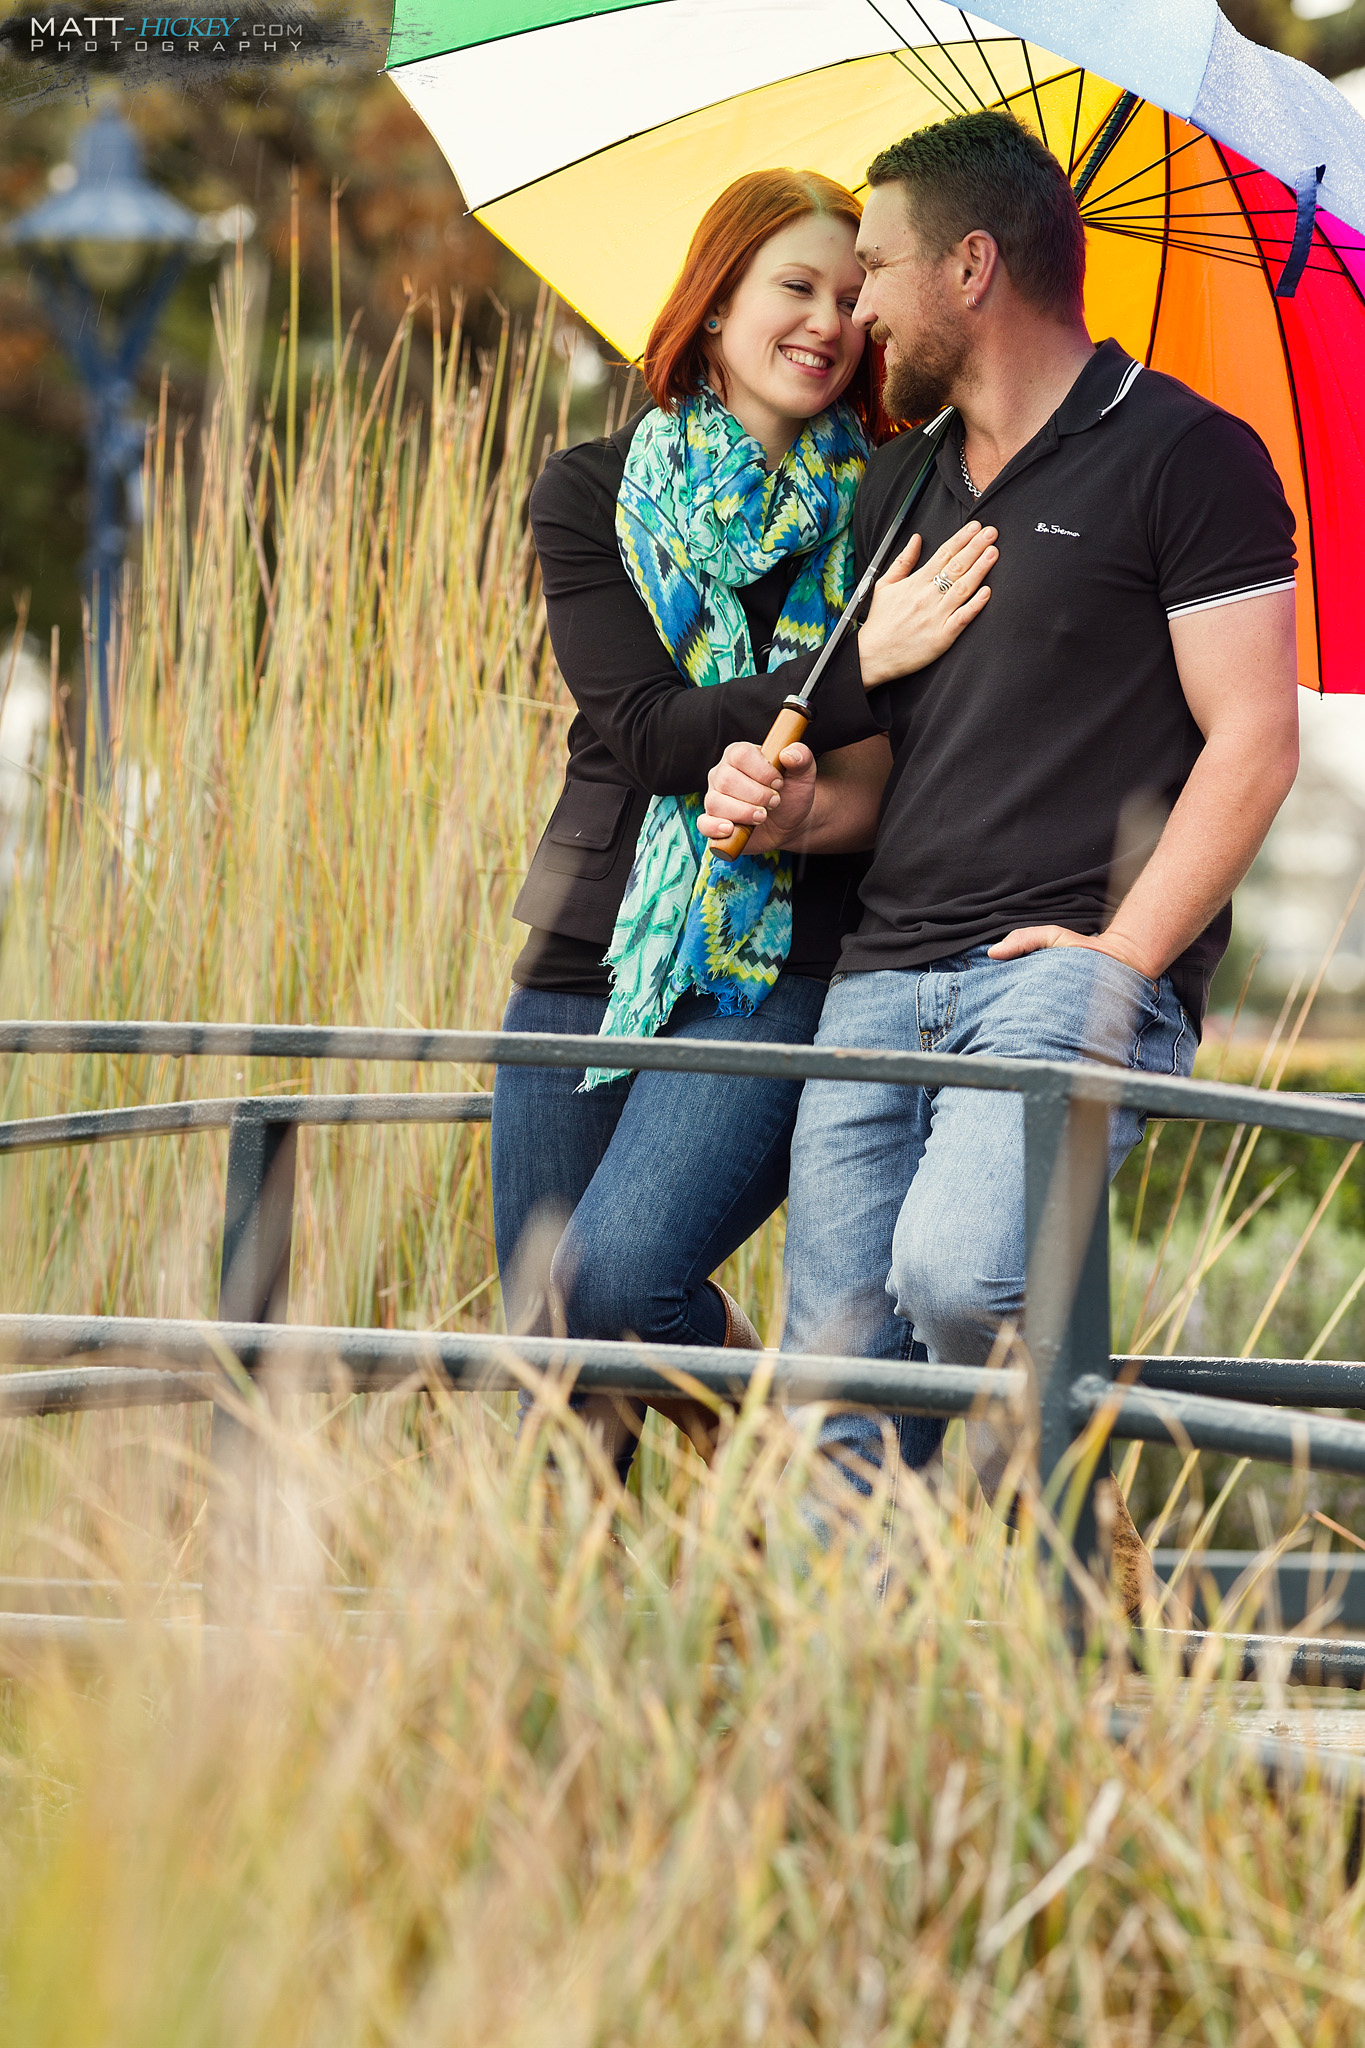
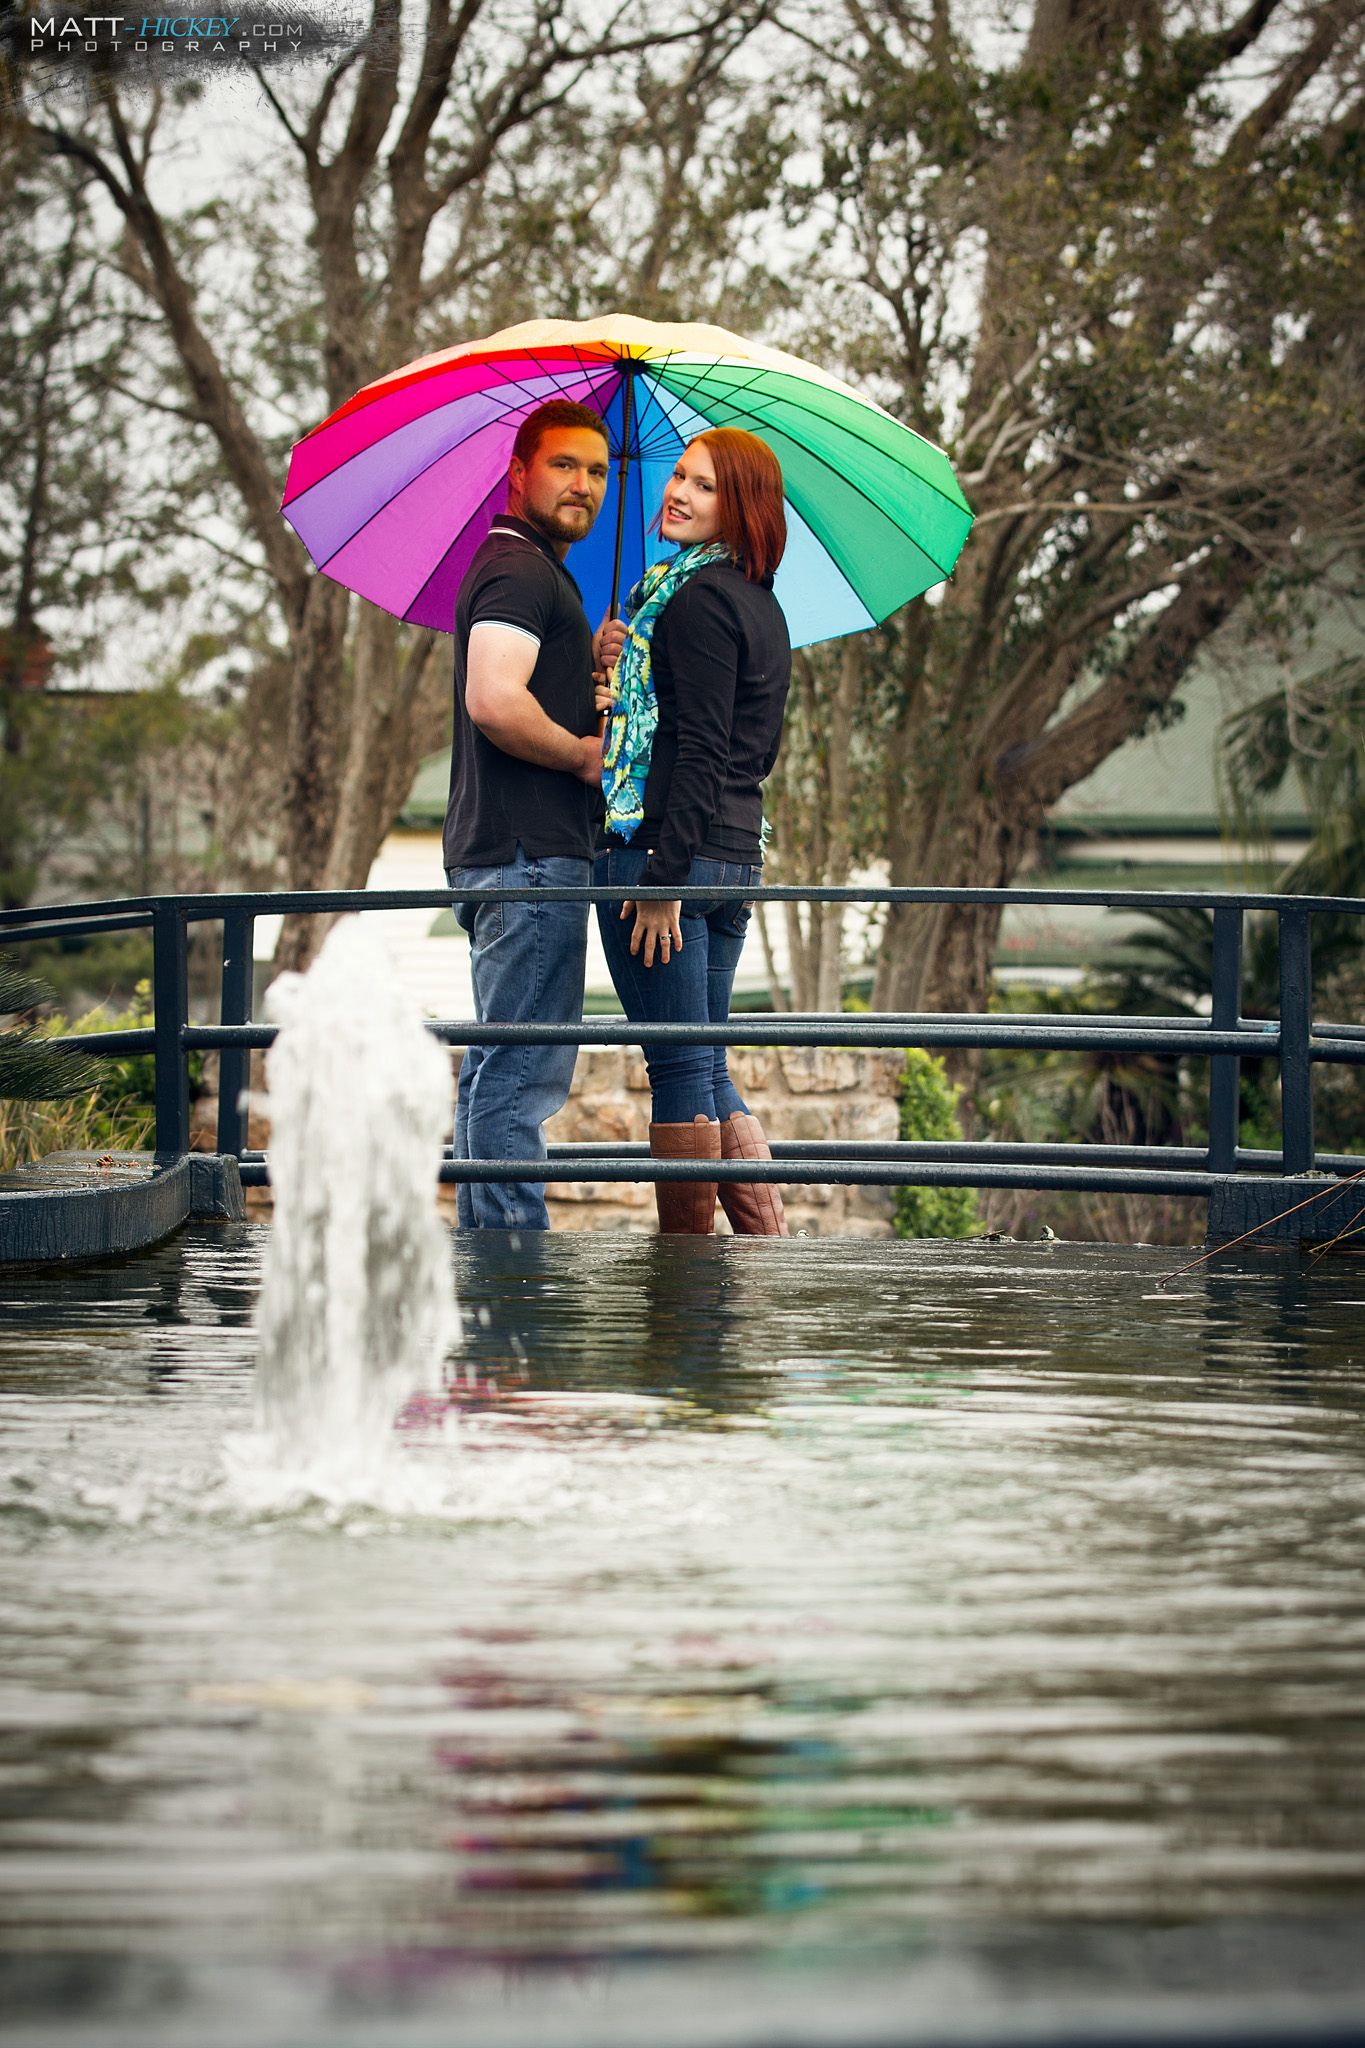
We had cancelled the photo shoot the weekend before due to bad weather and this weekend wasn’t looking any better. We decided to go for it anyway and it worked out beautifully. We had plenty of umbrellas and towels to keep the camera dry, but we achieved what we came to do. Amazing photos of the beautiful couple and the assurance that they have selected the right photographer for their wedding day.
Until next time.
Regards,
Matt Hickey
May
24
I’ve had a vision of producing a colour series which explores interesting ways to use colour in my photography work. I finally had a chance to get this project underway.
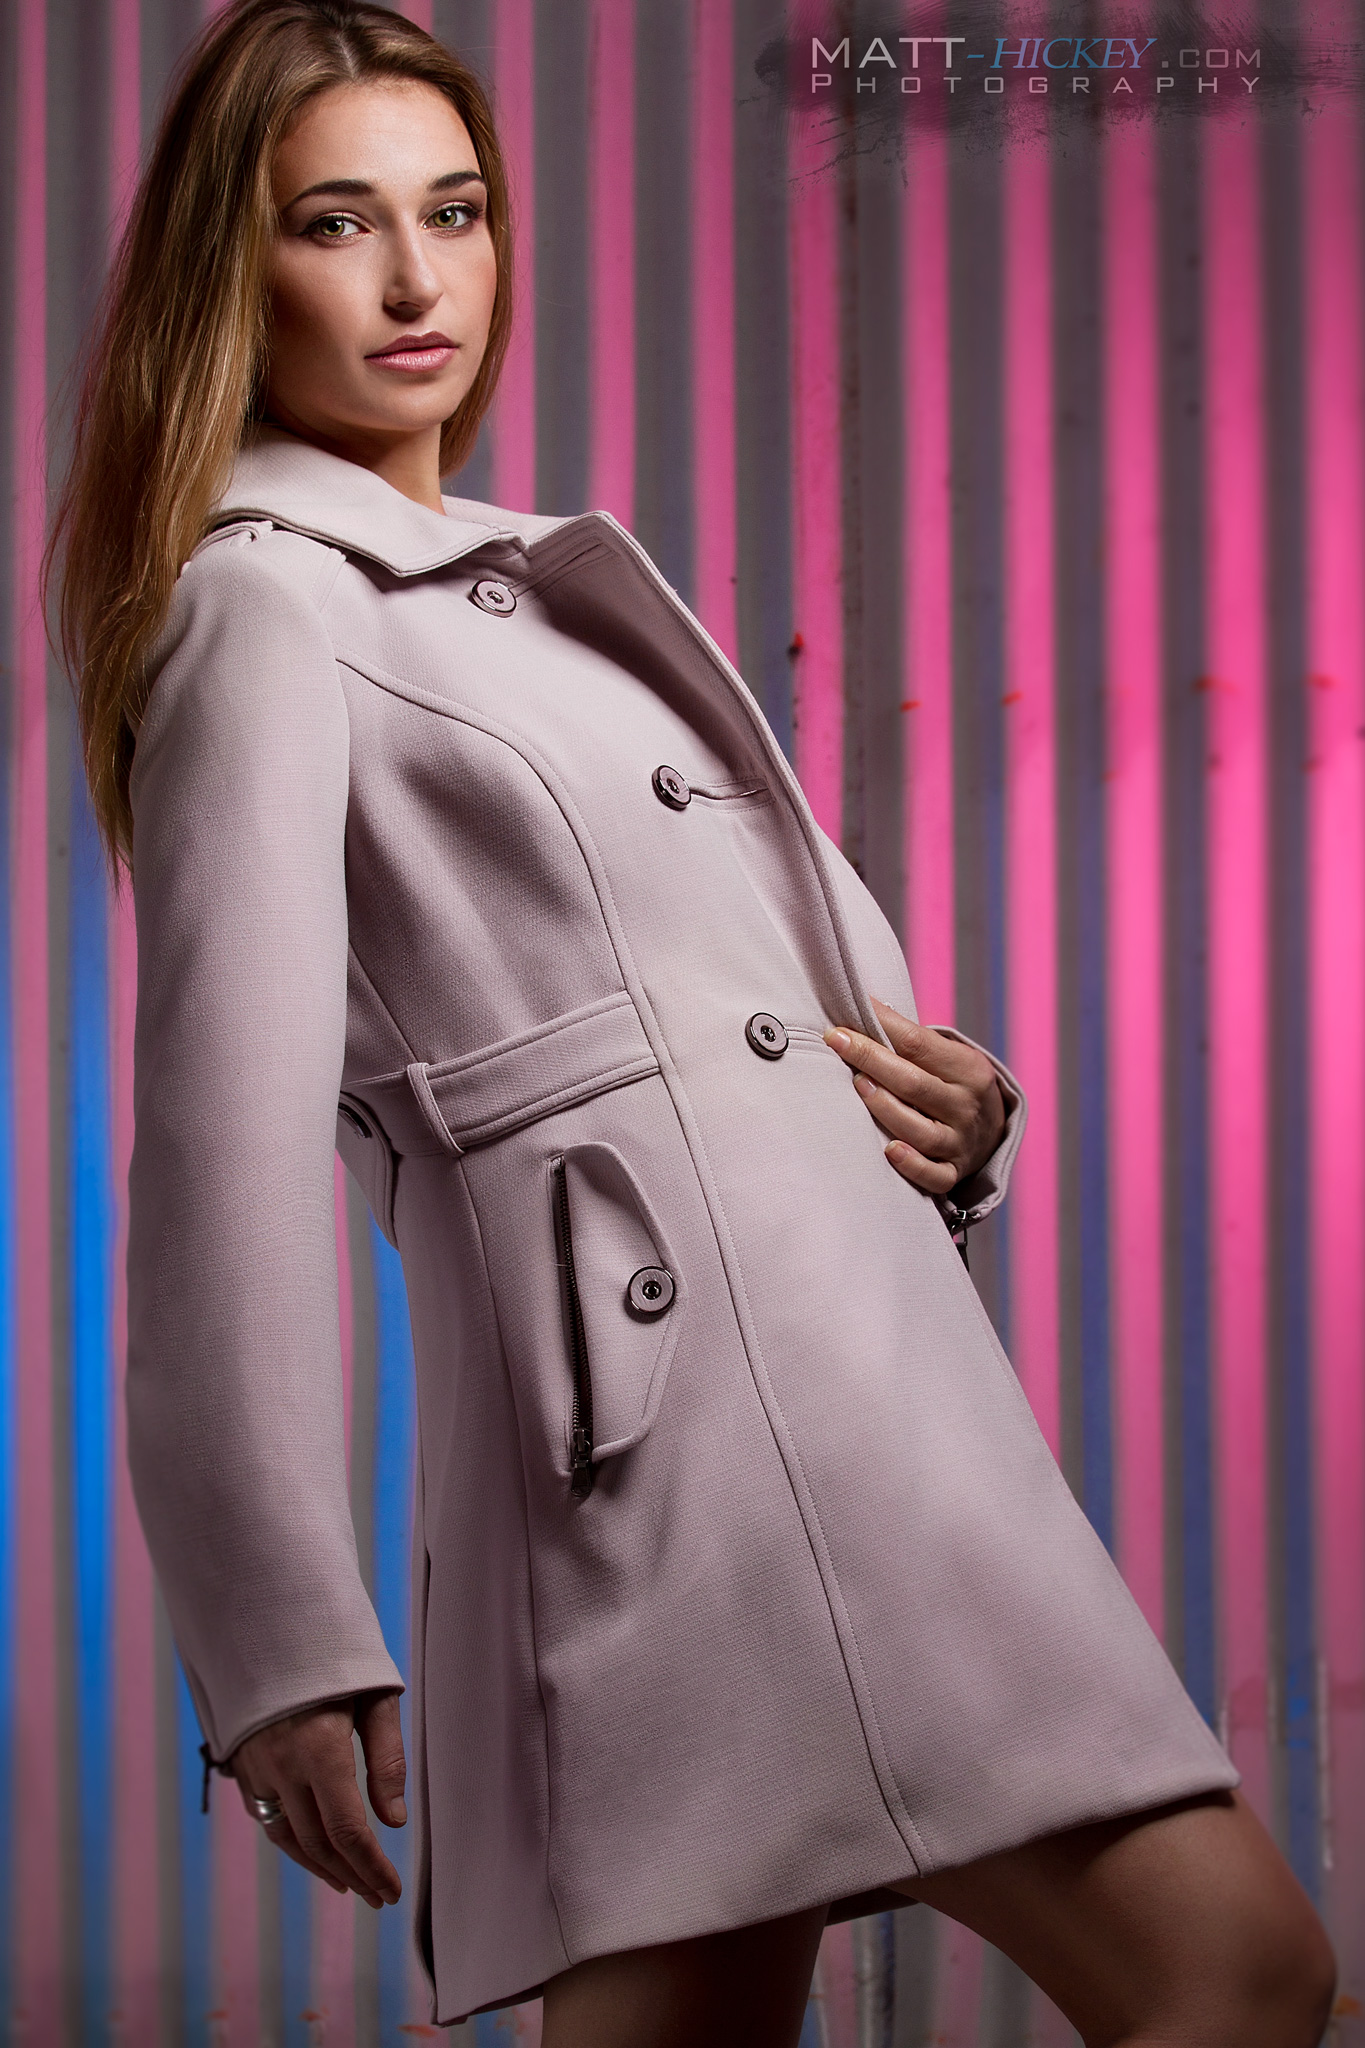
For these images, I utilised a sheet of corrugated iron which allowed me to shoot lights in opposite directions to give the ripple of colour effect on the background.
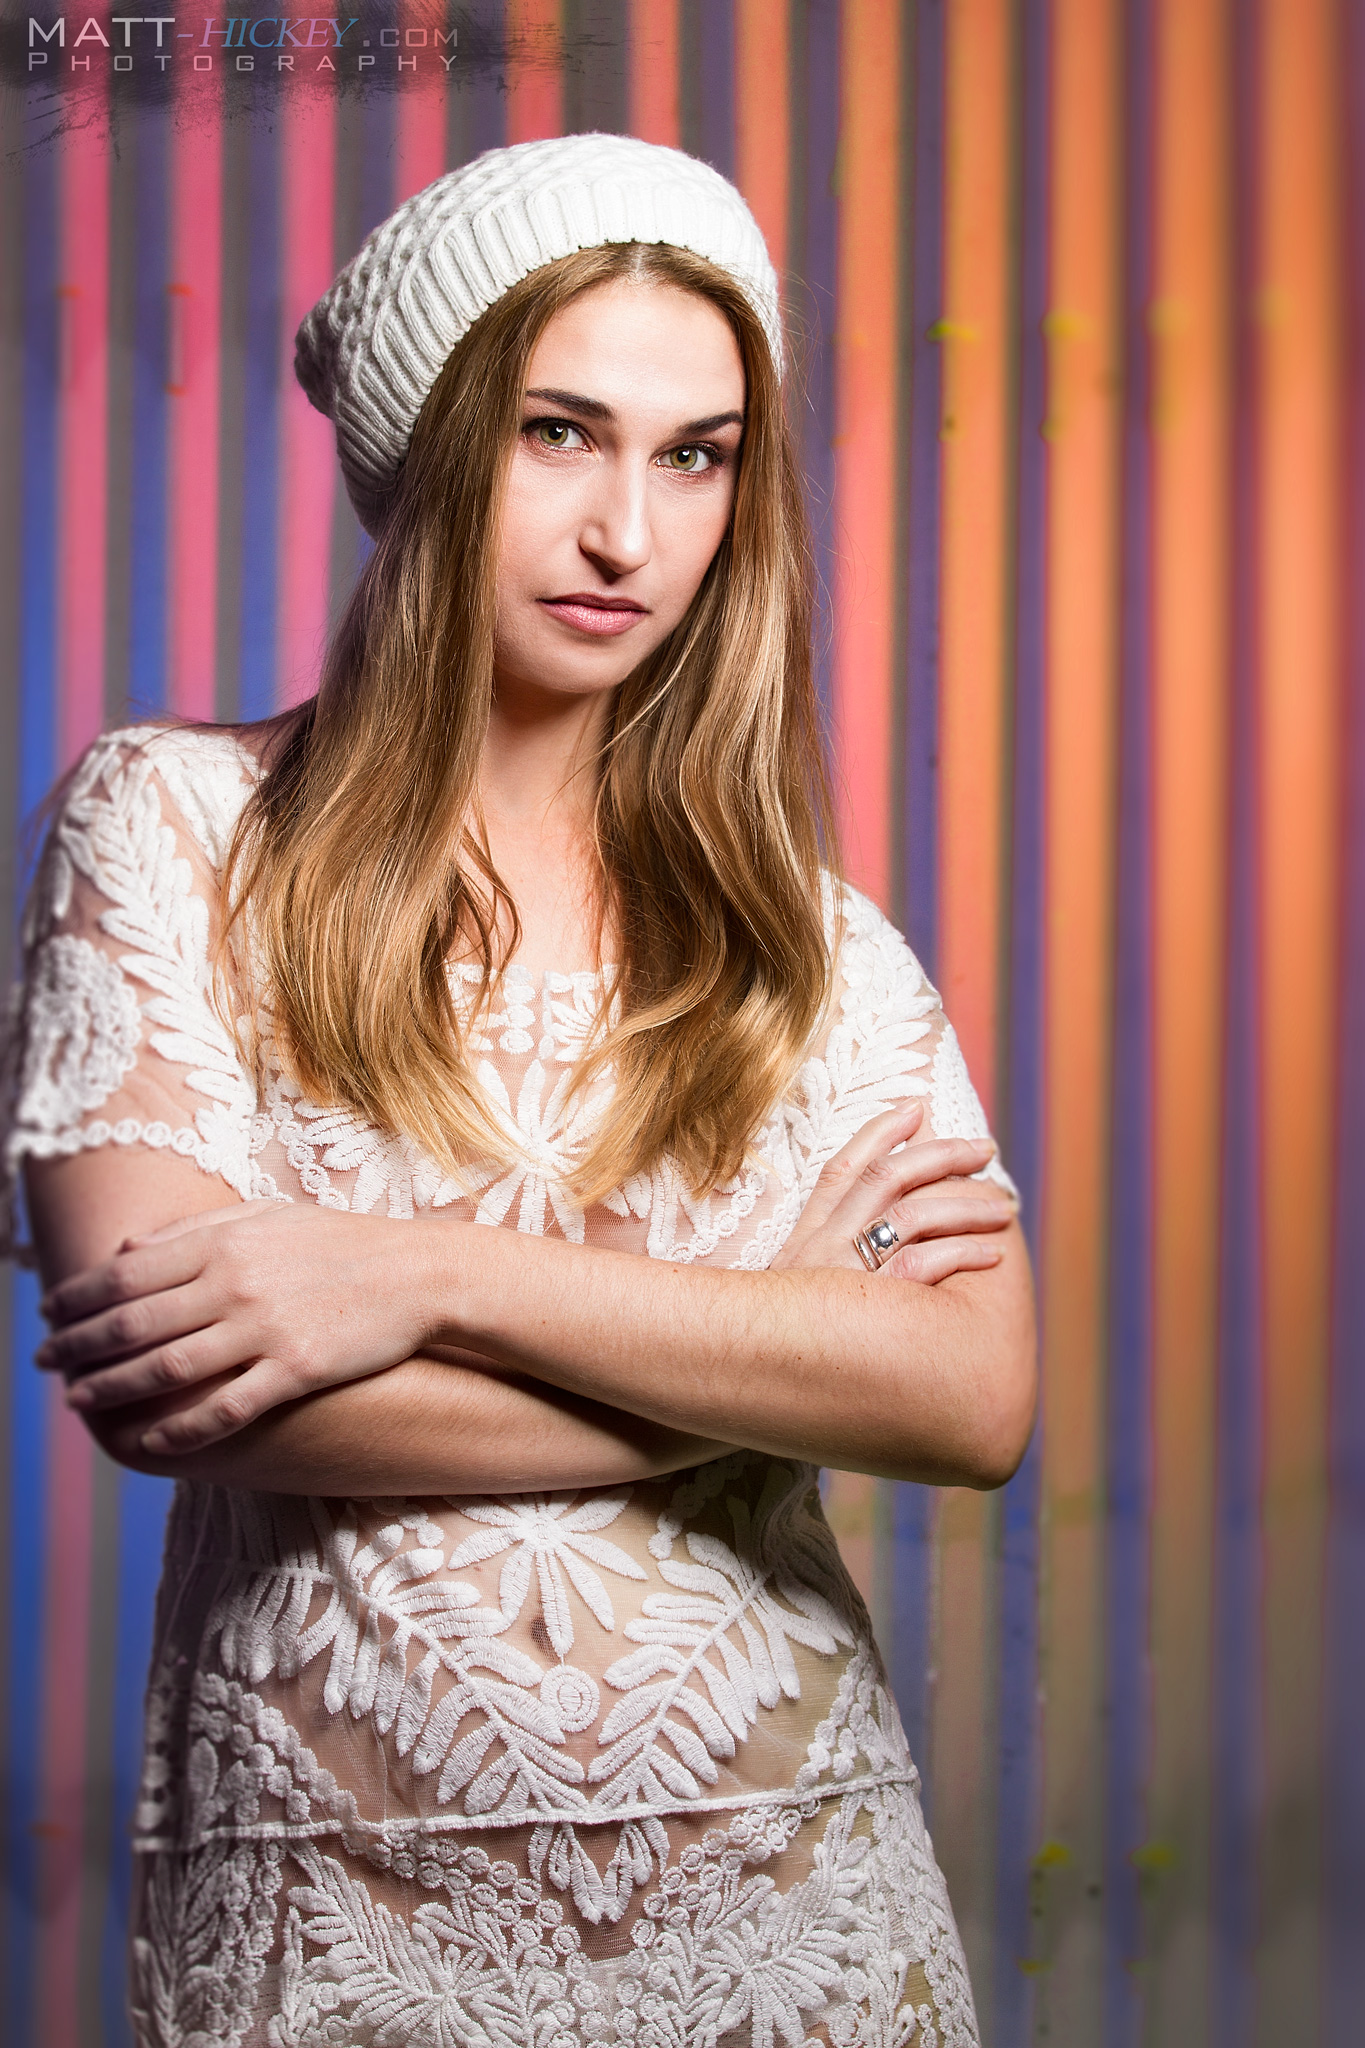
I stood the model far enough off the background so that she wouldn’t have coloured light falling on her. I lit the model with a gridded beauty dish. I put the grid on because I didn’t want the foreground light washing out the colours of the background light.
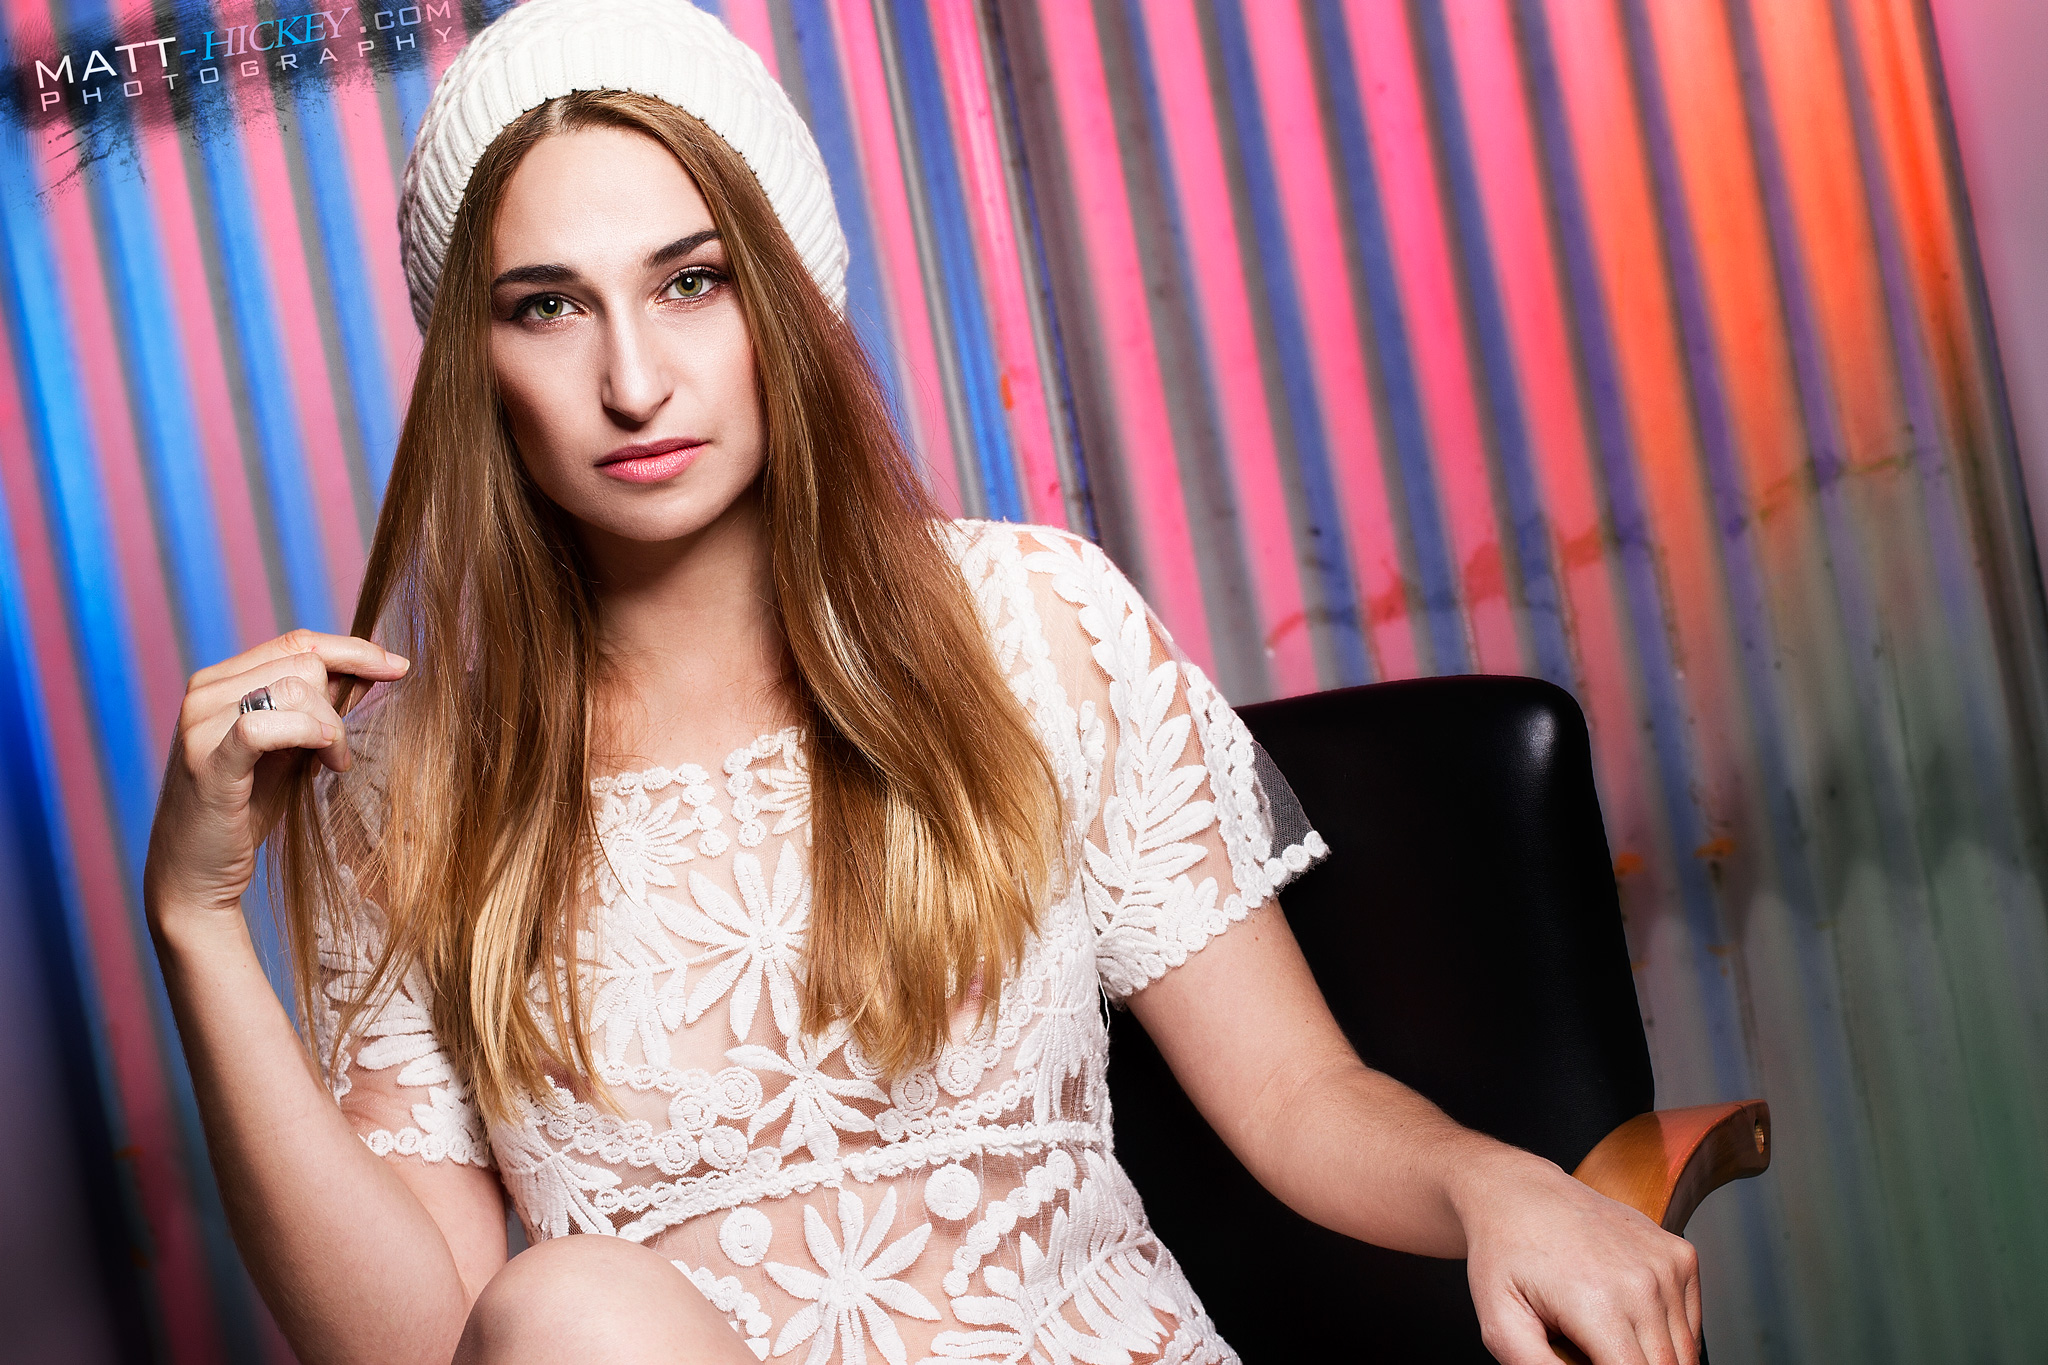
Hoping to find some more models for this series and continue experimenting with various colour effects. One thing that this project has taught me, controlling light is important, but controlling colours takes it to another level. Making sure you keep the gel colour intensity and not washing it out with other lights/gels is very important. If you don’t, you end up with a mess of colour and it’s not pretty.
Until next time.
Regards,
Matt Hickey
Apr
24
Well it’s been a while since I’ve had a chance to update the James MacDonald Bicycle Collection project. So much as been going on that I’ve had to put the brakes on this project… until now. I’ve put a lot of work into getting the correct lighting setup for the bike shots and the first round of shooting has cleaned out one room.
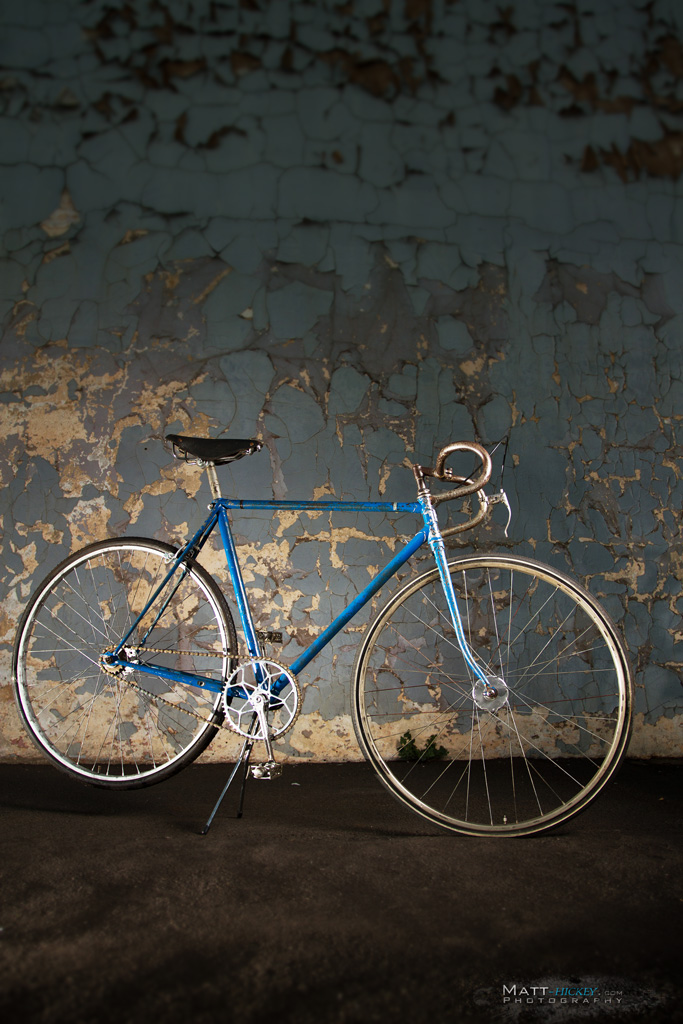
The long part of this project is the editing. I’m shooting on-site in a very small area so conditions aren’t ideal but you work with what you have. I use the computer to perfect the items I can’t on location.
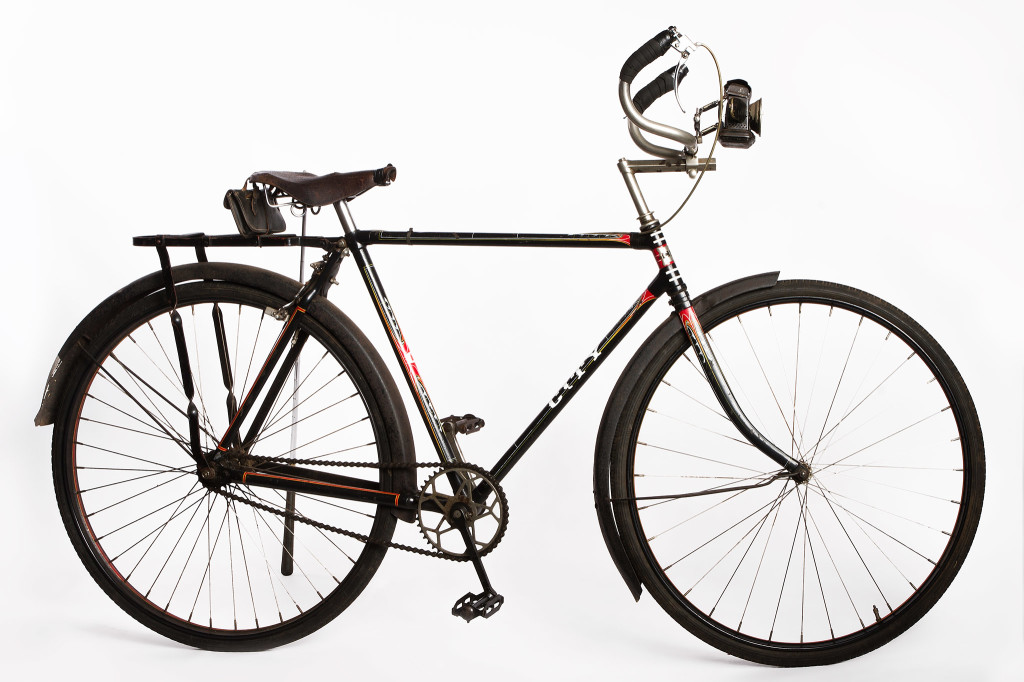
On issue is the depth I have to shoot in. I have to squeeze in between hundreds of bicycles to get back far enough to capture the bikes on my backdrop. Ideally I would use a lens around 85mm to give the correct perspective, but sometimes I have to convert to the wide angle just to fit some of the longer bikes.
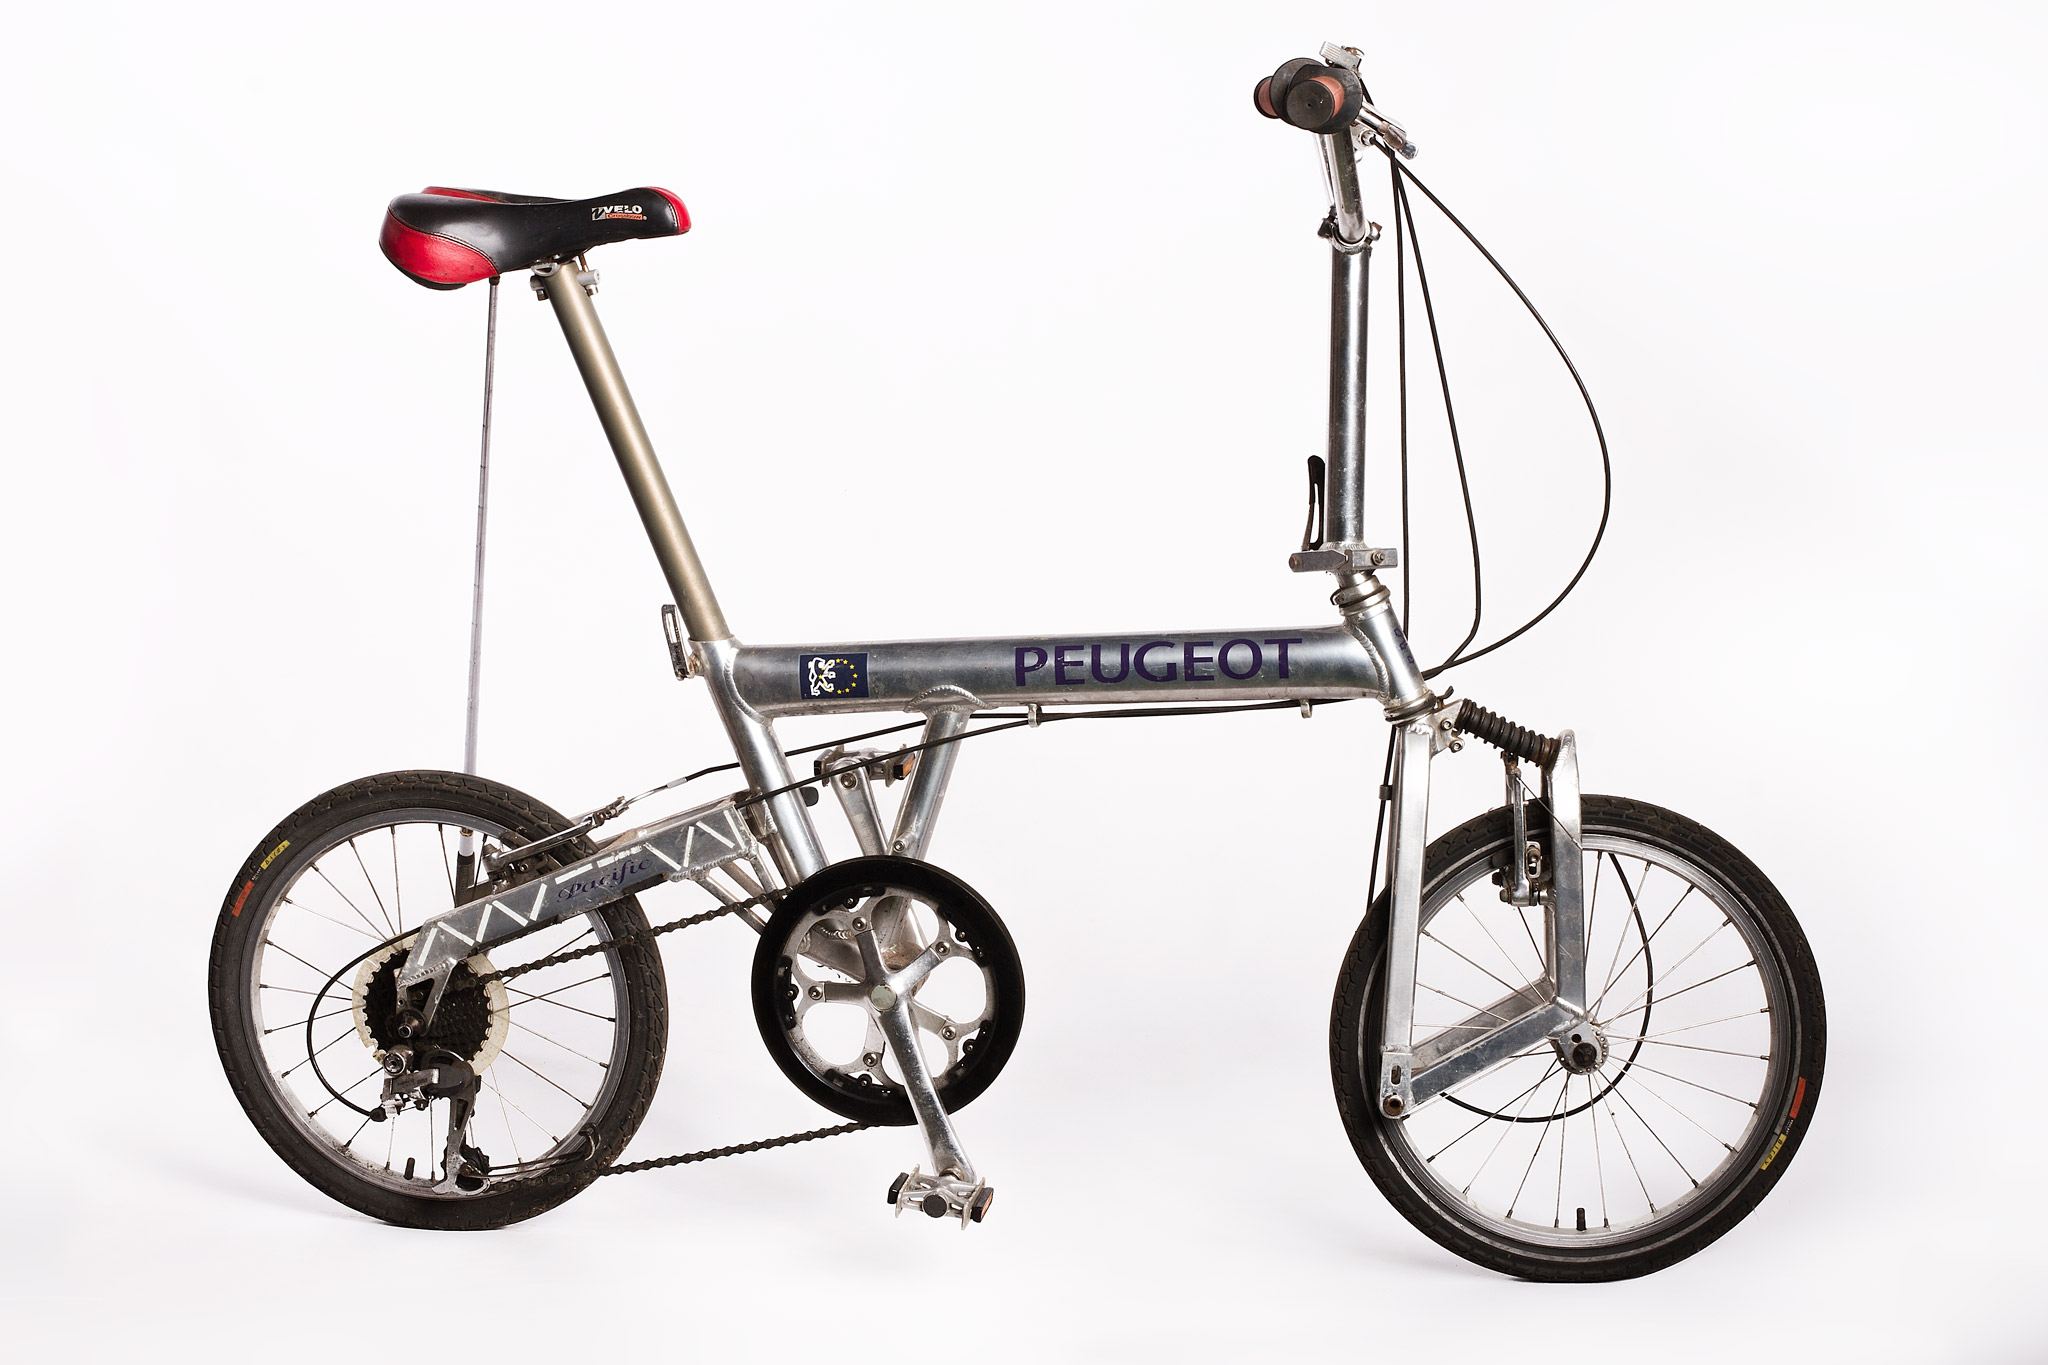
Another issue is the consistency of the background lighting. Again, due to space, I don’t have the advantage of moving lights further back to give a slow transition and light fall off. A quick colour selection and curves adjustment in Photoshop allows for a seemless white background.

As Jack can run through and clean up bikes, I then come in with all my photography gear and start photographing another batch. I’m not sure how long it’s going to take to get everything photographed, but it’s been fun and very interesting.
Hopefully we will get all this together and produce a very cool book. Until next time.
Regards,
Matt Hickey
Feb
27
Welcome to my video blog of technical skills. I’m looking forward to documenting existing skills in photography and Photoshop, as well as documenting new and improved ways on existing topics once I find them.
Photography can be a closed community where everyone feels like they need to keep their new discoveries to themselves. In this series, you will learn what I learn, good or bad.
I’ve found that high end retouching is even more cut off to help. It’s difficult to find out what’s happening in the industry and advanced techniques. I’m hoping to discover clever ways to edit images to produce amazing results.
Also looking forward to improving my video and presentation skills. I hope it will be a fun series where we all learn something new.
Read More»Feb
26
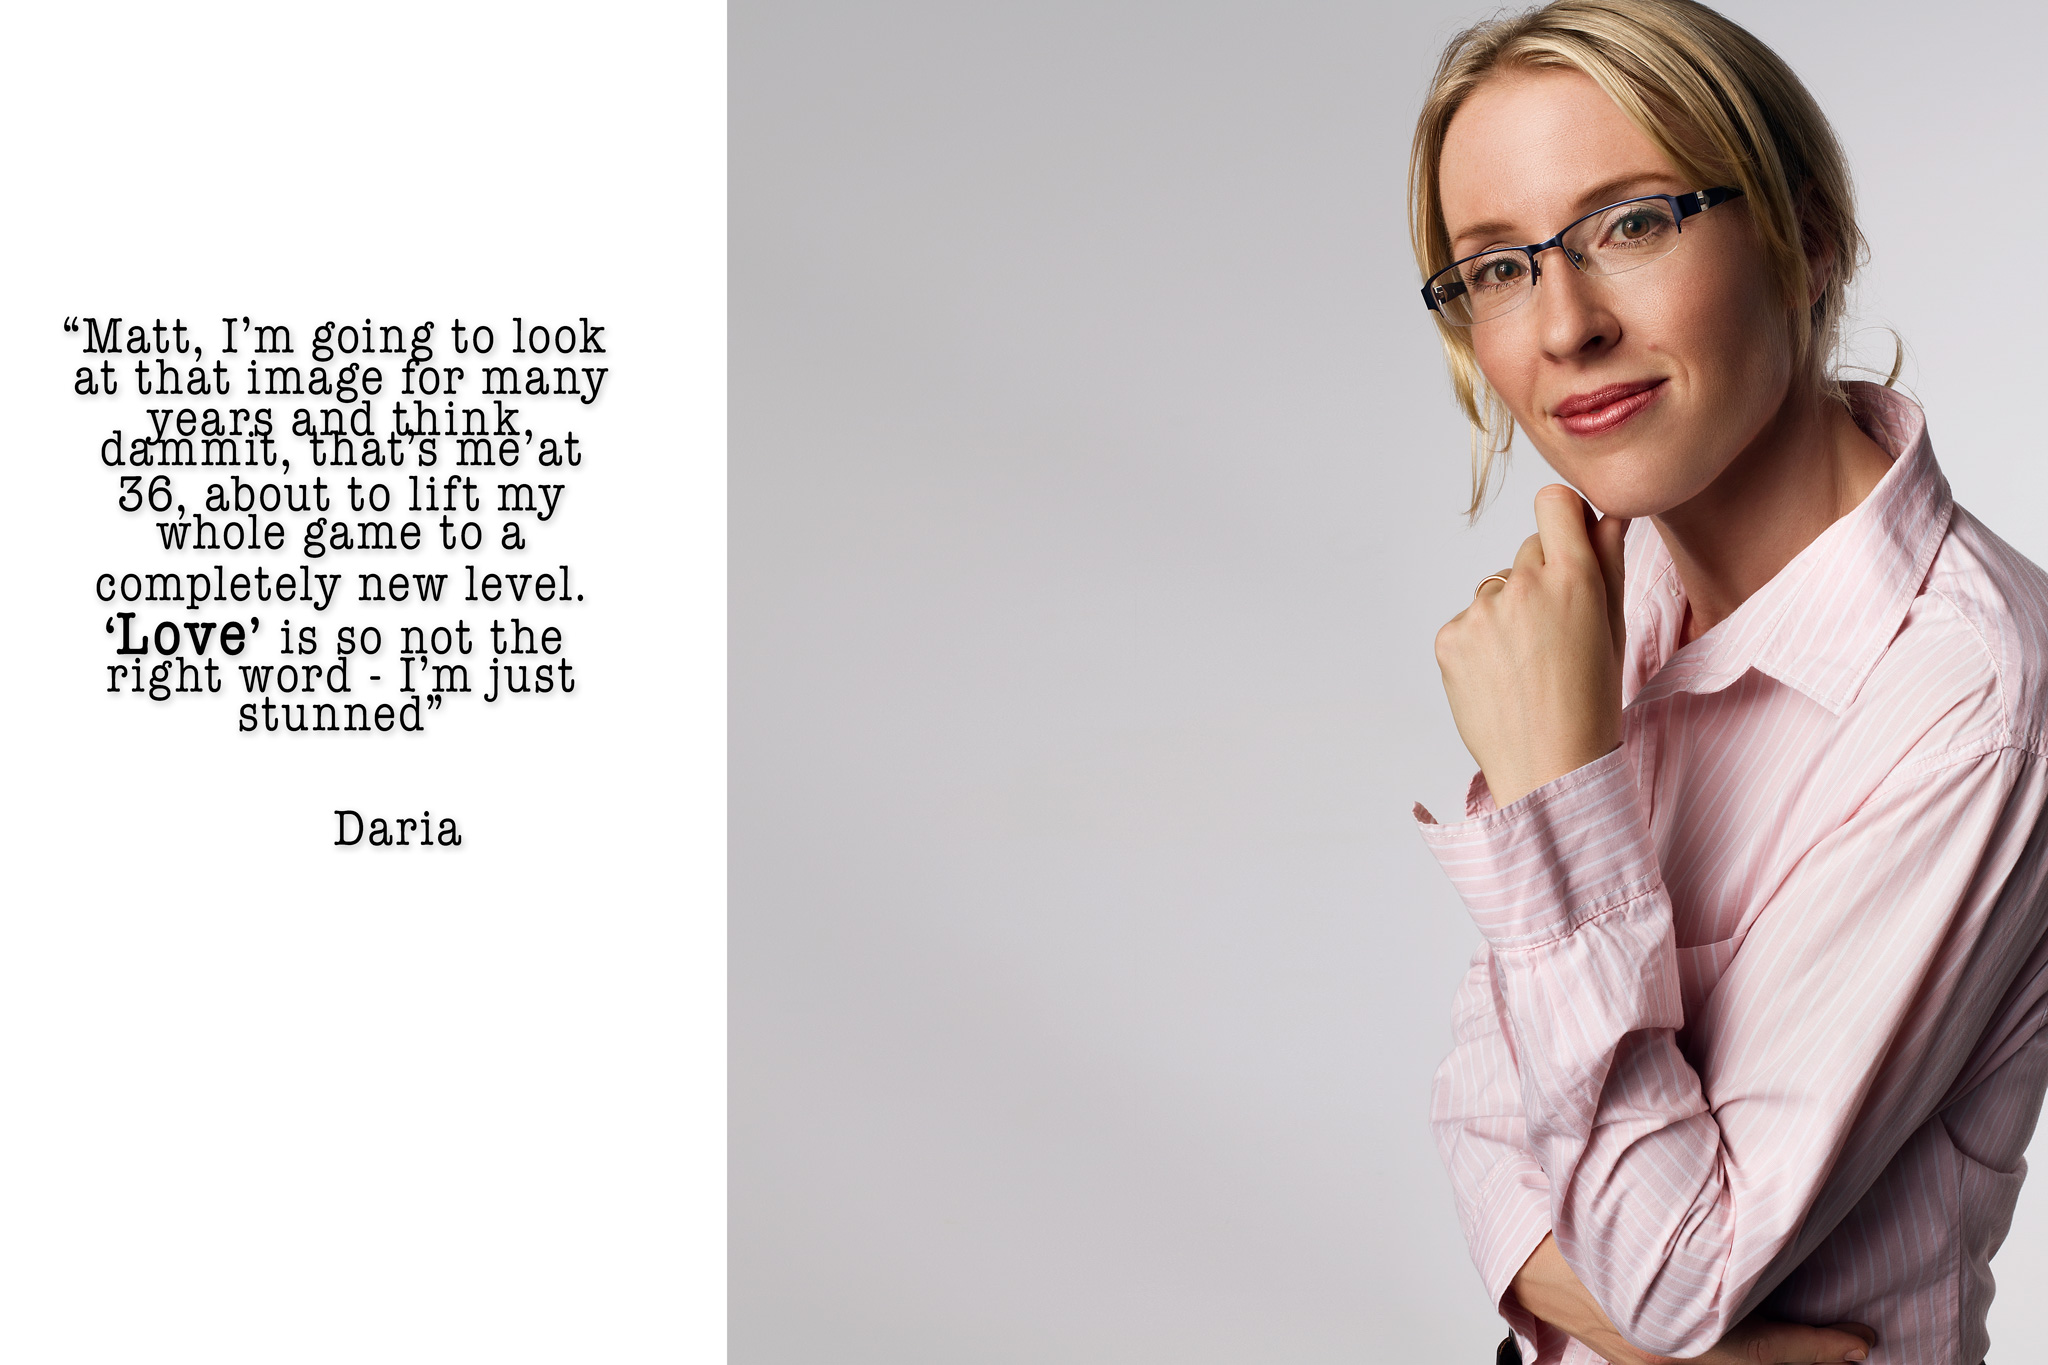
Pretty exciting when you receive feedback like this when your client looks at their images. Daria messaged me via email, SMS and Facebook within seconds of each other. It’s fantastic to see my clients viewing themselves in a way they haven’t been able to through “selfies” or other photographic means. The combination of equipment, comfort, expertise, posing, lighting and editing all play a part in producing an image of something special.
Feb
20
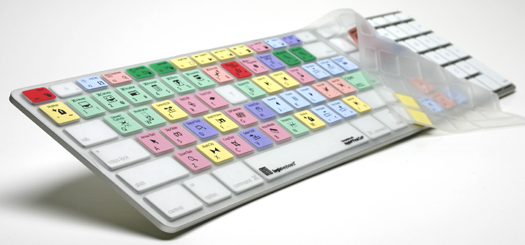
Behind the Scenes (BTS) video demonstrating keyboard shortcut usage while editing in Photoshop. Improve your workflow by remembering a few shortcuts to speed up your retouching time. The video demonstrates where I place my hands for easy access to the keys I use the most and layout for the keyboard and Wacom tablet on the editing desk. The video demonstrates the keys used for a Mac computer using a LogicKeyboard skin overlay to help visualise Photoshop shortcuts.
Photographer: Matt Hickey
Tools Used:
Mac Workstation Pro
Photoshop CS6
LogicKeyboard Template
Wacom Intuos 3 tablet
Feb
17
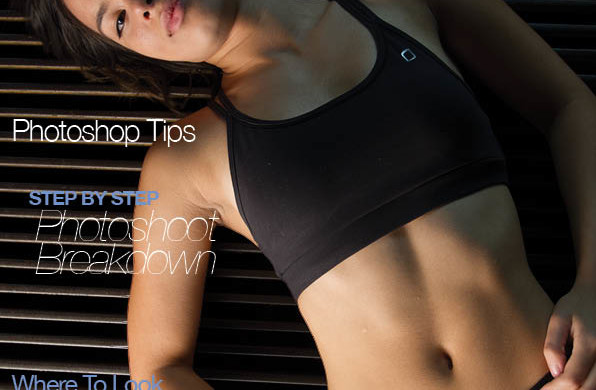
Ever wanted to see how we retouch and stylise our images? We’ve put together a video that runs through our techniques for creating a polished, magazine ready image. We cover tools and techniques in Photoshop such as Spot Healing brush, Clone Stamp tool, Skin Tone blending, Eye Colouring, Sharpening, Frequency Separation, removing unwanted background objects, creating specular highlights, dodge & burn and much more.
Retouching is a way to bring the most out of your image and really give it that bit of extra punch for the viewer. Like make-up and hairstyling, retouching is a digital way to conceal and remove any unwanted objects from your captured image. In this tutorial, we will show you how to make subtle changes to ensure you end up with a natural image worthy of any magazine cover.
Grab your favourite beverage and relax while you watch in real-time as we edit an image from the Custom Tattooz Magazine calendar photo shoot.
Tools used in this video:
Photoshop CS6
Wacom Tablet Intuos 3
Mac Workstation Pro
Jul
10
It’s been a little while since my last update but I’ve been very busy shooting, post processing and making content for the blog. Here’s the latest edition of Teci which explores some very interesting people in the photography field. I hope that the articles in the July version of Teci mag urge you to explore these fascinating people further because there is so much more to discover about these individuals. Happy reading and we will see you again soon for some more updates occurring at matt-hickey.com